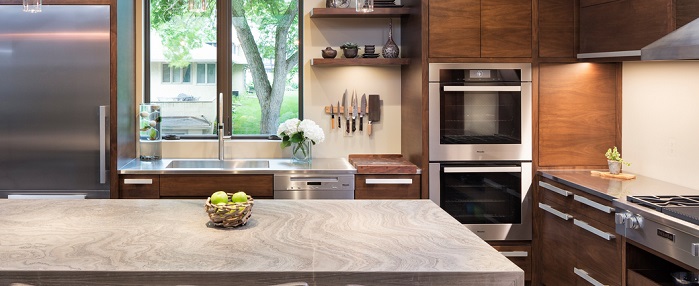
Installing a new tile backsplash is a popular go-to DIY project for updating and boosting the value of your kitchen. But for maximum impact, you shouldn’t call it quits once you’ve finished installing the tile. Adding equally DIY-friendly undercabinet lighting will put your new backsplash in the best possible light (literally), and give your kitchen a more finished, inviting feel. And besides: what’s the point of splurging on nice new tile if you’re going to leave it hidden in shadows?
Why Bother With Undercabinet Lighting?

I’m a big proponent of having lots of different light sources in the kitchen. Most families use their kitchens every day, at all times of day, in all levels of natural light, often for multiple purposes at the same time. If you have someone doing meal prep, another person doing dishes, and someone on a computer at the kitchen island, your lighting needs to accommodate all of them at once. Most people consider undercabinet lighting to be just for show. But it also makes your counter space more usable. Where you might block overhead light with your body while using a cutting board, undercabinet lighting ensures you have adequate task lighting even in awkward spaces.
Okay, But What Does That Have To Do With Tile?

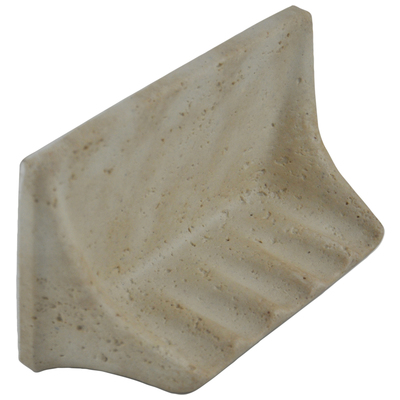
Tile backsplashes are another feature that’s often treated as purely aesthetic despite serving a very important function. Namely: the tile protects your walls from damage by water, heat, and food. Tile trends these days skew more decorative, and cover a lot more than the splash zone around your sink. Full-height tile walls throughout the entire kitchen are closer to the rule than the exception. But if you’re an avid cook, your kitchen should work harder so you don’t have to. That might mean skipping out on fun, textured, unpolished stone tile in favor of something easier to clean. But combining beautiful tile with bright lighting is a project that has huge impact on your kitchen’s style and usability.
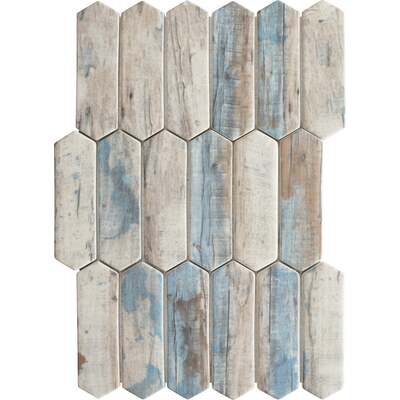
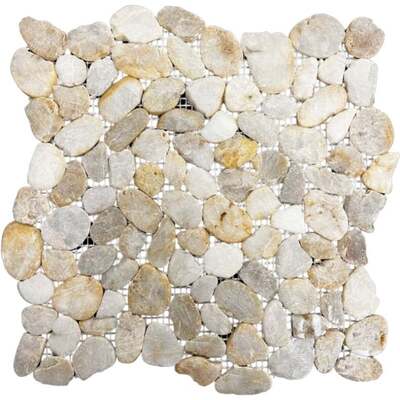
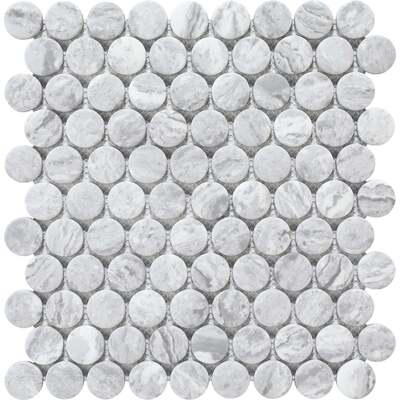
Shop Backsplash Tile:


Why Install Them Together?

Installing a new backsplash and putting in undercabinet lighting are two projects that you can do separately. But you’ll have more options and better synergy if you do them at the same time. If you want to hard wire your undercabinet lighting, do it while you have access to your existing electrical work. Aka, BEFORE you put up new tile that will make it harder to rewire. Whether you’re adding tile to walls that don’t have them or removing old tile to replace it, once your drywall is covered up again, new electrical work is more or less off the table. Similarly, if you’re planning to install tile with a repeating tile or accent? Lay out the spacing of the tile and lighting at the same time to ensure a final look that works.
Choosing The Right Undercabinet Lighting
Undercabinet lights are completely hidden, so you don’t have to think about the way the fixtures themselves look at all. That said, there are tons of different types of undercabinet fixtures, and a few features to consider before you commit.
Plug-in or Hardwired?

Maybe the most important question to consider pre-installation is whether you want undercabinet lights that you plug into an outlet, or if you want to have them hardwired. Plug-in fixtures take up an outlet, have at least semi-visible wiring, and a maybe-inconveniently-placed on/off switch, but are cheap and dead simple to set up. Hardwired is is trickier: you’ll need an electrician to do the installation before putting up your backsplash. For the added expense and trouble, though, you’ll get fixtures that are almost invisible. Bonus: hard wired fixtures also tend to have more sophisticated controls placed somewhere they’re comfortable to use.
Fixture Shape
There are three main types of undercabinet lights: bars, spotlights, and ropes. All three come in both plug-in and hardwired versions, and scale up and down to the size of your space. The biggest differences, then, are how they install, how you operate them, and the type of light they produce.
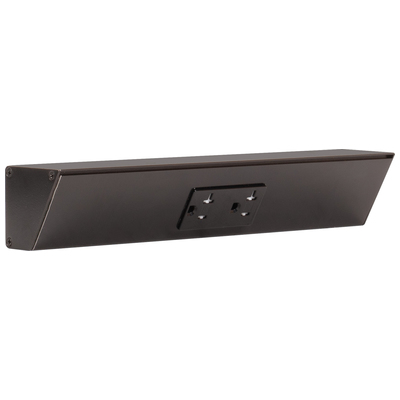
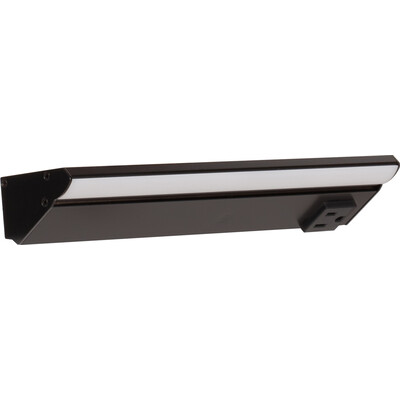
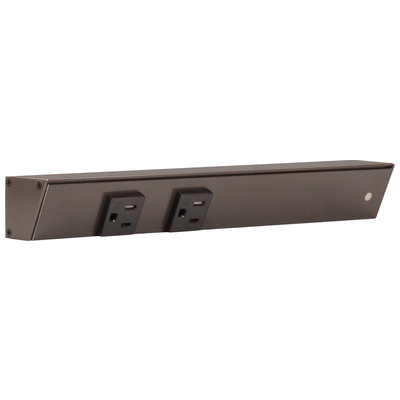
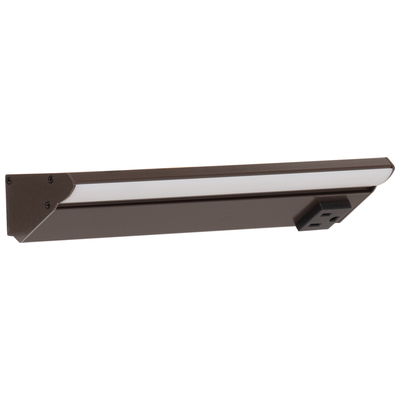
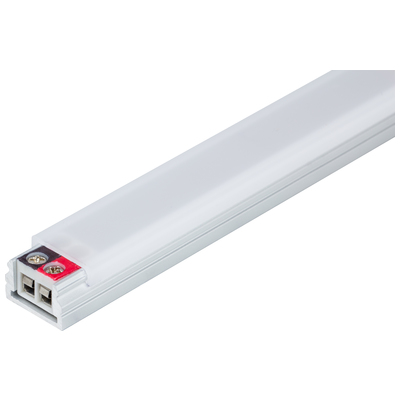
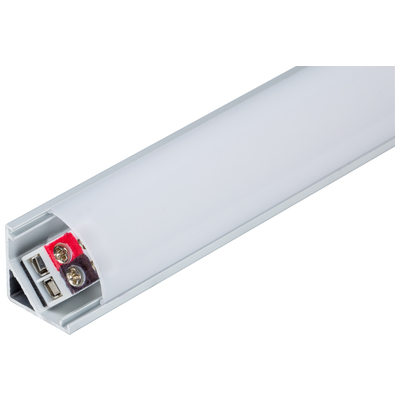
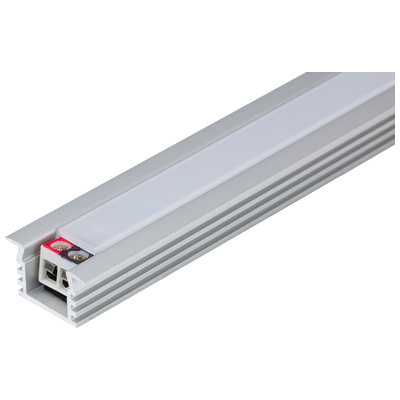
Bar or Strip Lights

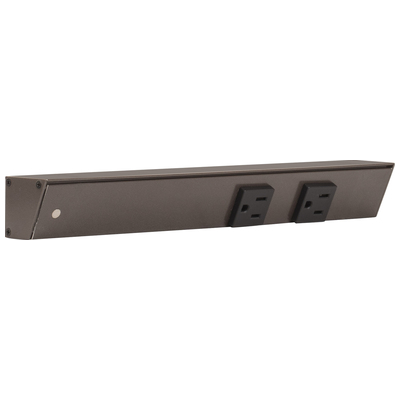
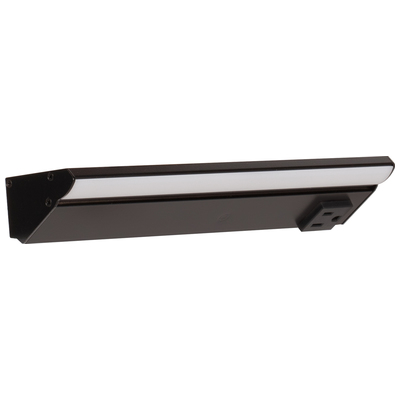
Strip or bar lights are the most common type of undercabinet lighting. They range from about a foot to several feet in length and can be linked together to cover more space. Either way, these provide a solid line of bright, consistent illumination, but tend to have a bulkier construction; you’ll need to be mount them to your cabinets with screws. Though they’re a little less DIY-friendly, these bar-style lights often double as power strips, with a simple on-off switch at one end and standard and/or USB outlets at regular intervals along the length of the light. Even plug-in models can help redistribute outlets more evenly throughout your kitchen – without covering up your backsplash!
Shop Power Strip Lights:
Spotlight or Puck Lights

Want pools of light rather than a solid line of illumination? Look for small circular “puck” style lights. You can buy these either individually or as part of a set you can easily string together; they range in size so you can choose between lighting that’s either more targeted or more diffuse. Either way, double check your installation type before you buy. Some lights come with mount casings that you’ll need to screw into your cabinets; others have peel-and-stick backing you can press into place. Some will need to be professionally connected to each other and hard wired; others easily plug together and connect to an outlet (like strings of holiday lights). The former will usually be connected to a light switch, while the latter typically have a switch built into the cord.
Shop Puck Lights:


Rope or Tape LEDs

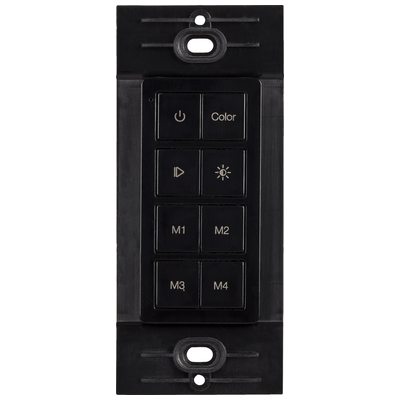
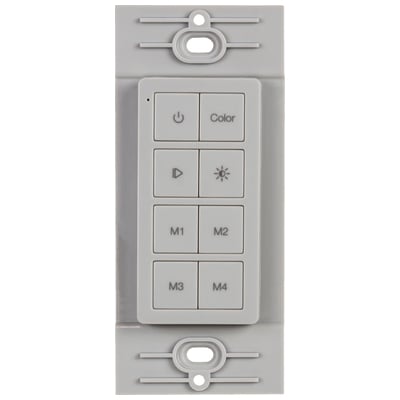
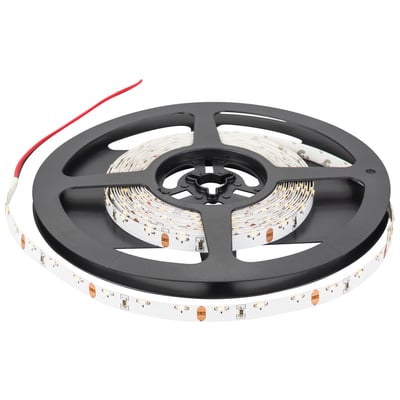
Rope or tape style LED lights are probably the most DIY friendly option out there. Depending on the manufacturer, they typically look like a big roll of ribbon or tape dotted with tiny LED lights. Installing them is quite literally as easy as peeling and sticking; just remove the backing on the strips and press to the underside of your cabinets to adhere. The evenly-spaced lights will provide good all-over coverage, and can even round corners, making them great for large spaces. Depending on the model, you can operate them either by remote, with a push-button, or via a hard-wired light switch. The drawbacks? The adhesive can wear out over time, and unlike bar-style lights, they won’t boost your outlet count.
Shop Tape Lights:


Understanding Lighting Lingo
Last but certainly not least, you’ll need to decide how bright and what color lighting you want. Virtually all your options are going to be high-efficiency LEDs with the bulbs built into the structure of the light. So unless you splurge for a model that’s adjustable, what you choose is what you get. That said, the language used to actually describe the quality of the light can be a little…opaque.
Brightness (in Lumens)

If you grew up using the wattage of a bulb to figure out how bright it was, switching to the new standard measurement – Lumens – can be a little tricky. That’s because Lumens measure the brightness of the light, but modern bulbs use less power (the wattage) to produce more light. As a rule of thumb, the higher the number, the brighter the light. 200-300 lumens is about equivalent to an incandescent candle-type accent light; 500-700 is approximately as bright as a standard 60 watt incandescent bulb. The brighter the light, the further from the fixture the light will reach – an important consideration when balancing between ambient and task lighting.
Light Color or Warmth

The color of the light is just as important. Measured bewilderingly by the Kelvin scale for temperature (K), this indicates how “warm” or “cool” the light is in appearance. The logic here is linked to the color that metal glows when superheated: ranging from a candle-like yellow-orange up to a bright blue-white. So what the heck does that mean? If you want under cabinet lighting mostly for ambiance, a warmer, yellower light (2700k) will give your kitchen a cozy, inviting feeling. A soft white (3000k) is still warm-toned but feels brighter, which is better for use as task lighting. Daylight-brightness (5000k) can look oddly too-bright for accents, but give you clear visibility in a prep area. Not sure? It might be worth splurging on a dimmable fixture – or even an LED with color control that lets you choose from a rainbow of options.
Installing undercabinet lighting is a simple, inexpensive, DIY-friendly project that definitely pays dividends. Whether you’re only looking to emphasize your expensive new tile backsplash or if you’re hoping to make your whole kitchen more usable, this weekend project will only cost you a few hundred dollars, but will make your kitchen look like a million bucks.
Shop All Cabinet Lighting: