Upgrading your home’s lighting is almost always a job for a professional. Whether you’re changing out an existing fixture or looking to add new ones, anything more involved than plugging in an lap requires know-how (or even licensing) that most DIYers simply don’t have. The exception? Tape lighting. These adhesive-backed LED strips are dead simple to install with tools you probably already have; no hard wiring or electrician needed.
What Is Tape Lighting?

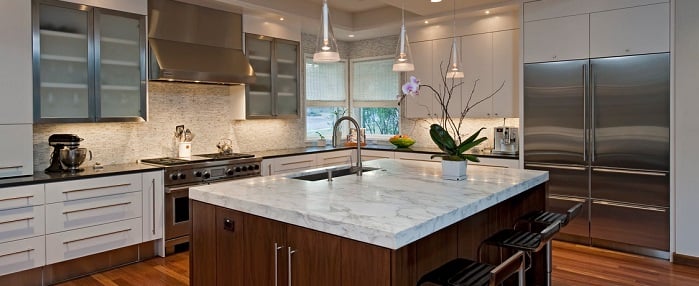
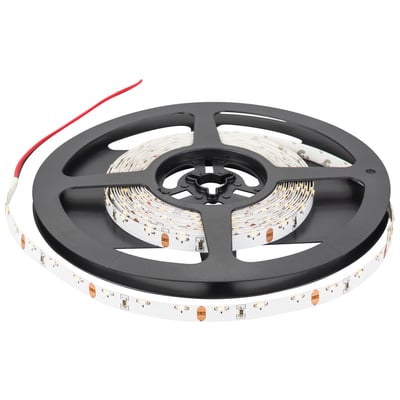
You know that soft glowing light that makes high-end interiors look really radiant? Under cabinets, along baseboards, or around the edge of a tiered drop ceiling? Chances are, that light comes from LED tape lights or their brethren. Think of them like the highest-quality version of strings of fairy lights; they consist of lengths of small, energy-saving LED lights that you can chain together, which draw power from a single outlet. The big difference? All the lights and wiring are contained within a spool of thin, peel-and-stick ribbon. The lights are smaller and closer together, for more even all-over lighting, and can be trimmed to fit any configuration.
What You’ll Need

Start by finding a tape lighting kit that’s the right size for your project. To figure that out, measure along the length of where you plan to place the lights, starting with the outlet you’ll plug them into. You want to make sure you have enough tape to cover the space. If it’ll be rounding any corners, ensure you have enough connecting pieces to join multiple lights without bending the tape. You’ll need a power supply for each “zone” or area of light that you want to control independently. Double check whether your kit is powered by remote, press button, or switch, and if it has a light-switch style plate you’ll need to install. If the starter kits don’t quite accommodate your needs? You can buy any of the parts and pieces individually to round out your project.
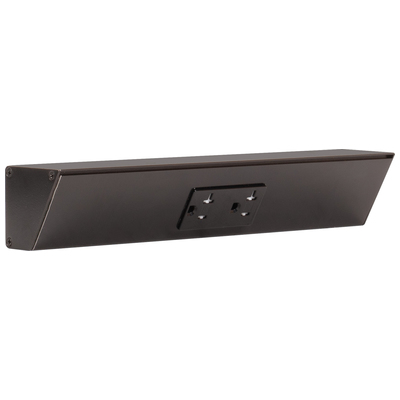
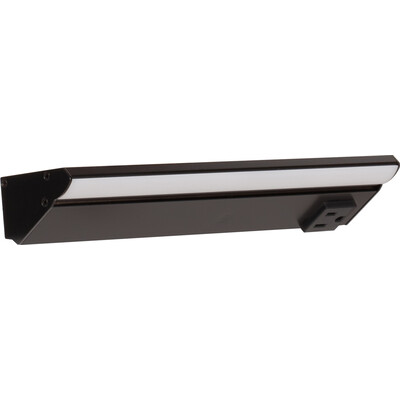
Shop Tape Lighting Kits:


Installation

Tools
To install tape lighting, you’ll need a few simple tools: household cleaner and a soft cloth, a small flathead screwdriver, wire strippers, and a pair of decently sharp scissors. That’s it!
Steps
- Prep. You want to install your lights on a clean, smooth surface. Prep your area before you begin by wiping the surface down with a soft cloth and an appropriate cleaner. Allow to dry completely.
- Measure Twice, Cut Once. Double check the measurements before you start! Once you know the number and lengths of the lights you’ll need, measure out the appropriate length of tape and cut, carefully, along the closest indicated cut line. Important: ONLY cut the tape on an indicated line; cutting elsewhere, or cutting messily, can damage the wiring and make the lights fail to connect, like a burnt bulb on a string of lights.
- Connect The Pieces. Always connect your tape lights before removing the adhesive backing. It’s easier to do the wiring with the box right in front of you, and you’ll be less likely to accidentally stick the lights too far apart. Depending on the kit, you’ll find one of three types of connectors.
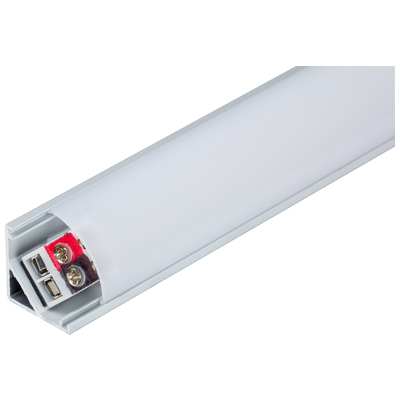
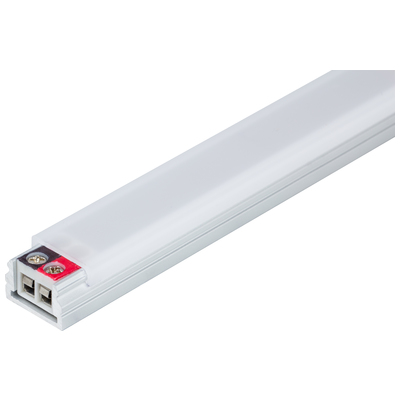
- Ribbon connectors you slide the tape into and clip shut.
- Very small plug adapters that connect to prongs at the end of a fixed-length string of tape.
- Small connector boxes that link to the tape on one side, and wiring on another. This last one requires a little more savvy – you’ll need to cut, strip, and connect pieces of the supplied wiring. But it affords much greater flexibility for rounding corners and accommodating uneven surfaces. Make sure to plug the lights in and make sure they all illuminate before continuing.
- Peel and Stick. Once you’ve ensured the lights are working, unplug the string. Next, peel off the adhesive backing and press the tape firmly into place. It should sit flat against the surface with no air bubbles. It can help to work a little bit at a time, peeling off the backing as you go. Some kits include additional mounts to further secure the tape. If desired, place mounts at the indicated intervals along the tape, and stick or screw them into place.
- Plug and Play. Once you’ve secured the lights, simply connect the strand to the power supply, then plug that into your outlet. If your kit has a press-button or on-off switch, that’s it – you’re all done! If you want to use a remote, keep reading.
Setting Up Remote Controls

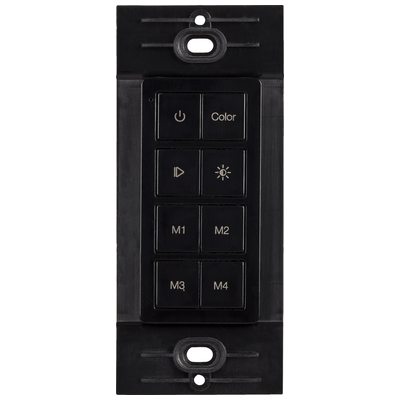
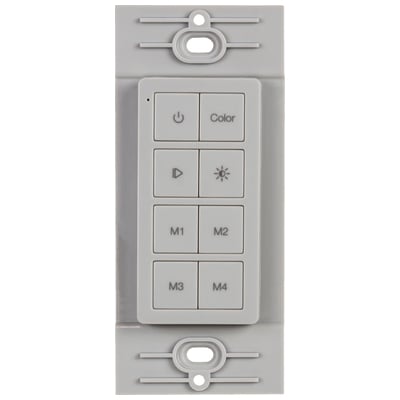
First, you’ll need to connect the lights to the wireless receiver box. Insert the red and black wires as instructed and tighten screws to secure. Then, follow the included setup instructions to pair the remote to your lights. This will allow you to control the lights via remote, but you’ll need to mount the box somewhere inconspicuous, like inside a cabinet. Most remotes are wireless and battery powered; some also have plates that let you attach them to the wall like a lightswitch. This is convenient for not losing the remote, and easy to install on drywall (just screw the plate in – no need to cut a hole, since there’s no wiring), but not so DIY friendly if you have a lot of tile. If that’s the case, either go without, or use a double-sided adhesive strip to secure the plate to the wall.
Features To Look For

Most tape lighting comes with some kind of “happy customer guarantee”. Among other things, this is a reassurance that you’ll be satisfied… because you can adjust the warmth and color of the lights to your liking after installation. While most standard LEDs have a single setting, you can adjust tape lights to fit the needs of your space. That said, there are a few big decisions to make before you buy.

First, not all tape lighting kits come with dimmers. This might be a box, a wall control, or a remote. If it’s a function you want, make sure your set has it. Second, most tape light adjust between 2700k and 5000k (warm to cool) white light. If you want color LEDs, you’ll need to choose a kit specifically marked RGB. Make special note of the controls. LEDs can produce a spectacular rainbow of colors that make brilliant accent lights, but it can be difficult or impossible to land on a neutral color, especially with minimal controls.
Extensive undercabinet and subtle recessed lighting are some of the most luxurious finishing touches, and will make your home look magazine-ready. Better still, a simple kit won’t break the bank – and once it’s installed, no one will know that subtle, professional finish was all you!
Shop All Cabinet Lighting: